How to Complete Pi Network Mainnet Checklist Step 9
Pi Invitation Code: iamhassaan60
Share this Blog
Once you finish Steps 1 to 8 of the Pi Network Mainnet Checklist, you’ll reach an exciting point moving to the Mainnet. After completing all the steps, your account will automatically enter the Migration Queue, and your transferable balance will be prepared for transfer to your Mainnet wallet.
After the migration, there will be a 14-day waiting period. When this time is over, the unlocked part of your balance will be available for use, while the locked part will stay unavailable until your chosen lockup period ends.
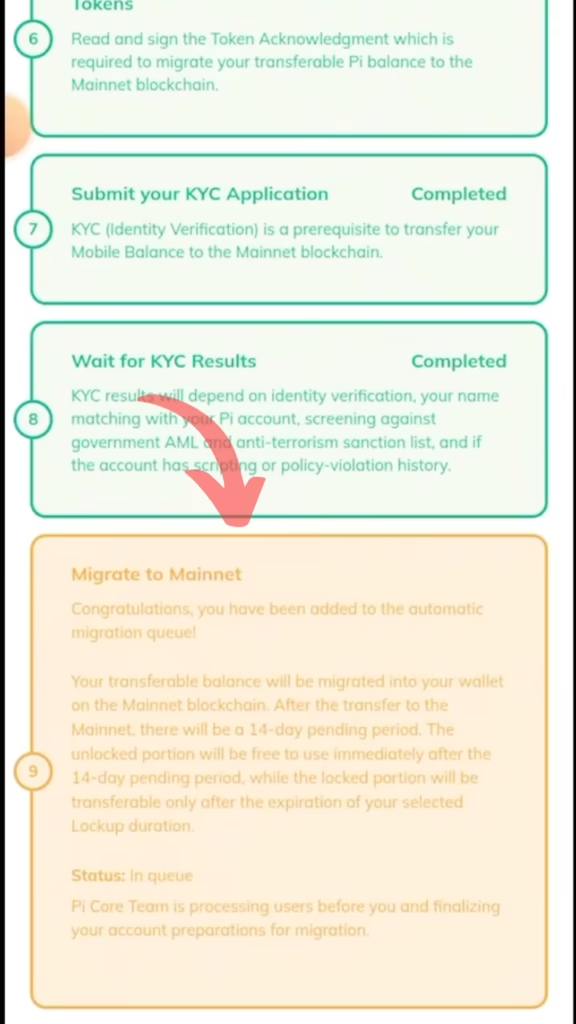
After completing all eight steps of the Mainnet Checklist, your migration to the Mainnet will automatically enter the queue. During this time, you may see that the “Migrate to Mainnet” box stays yellow. This means your migration is still in progress, and your Pi balance hasn’t been fully transferred to the Mainnet blockchain yet. It’s important to be patient as the system works to move your Pi to your Mainnet wallet safely. Keep an eye out for updates and check your status regularly to see when the process is finished.
In this blog, I’ll guide you through the steps to request the Pi Core Team to complete your migration to the Mainnet and finish the Mainnet checklist. If you’ve already completed Steps 1 to 8, you’re ready to move on to this important phase. Just follow these steps to make sure your Pi balance is successfully transferred to the Mainnet blockchain.
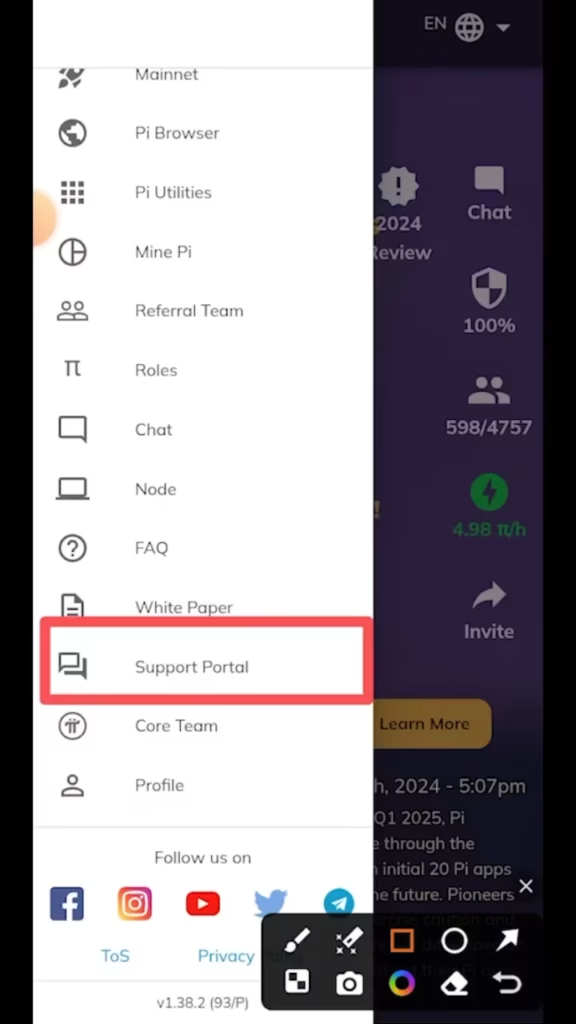
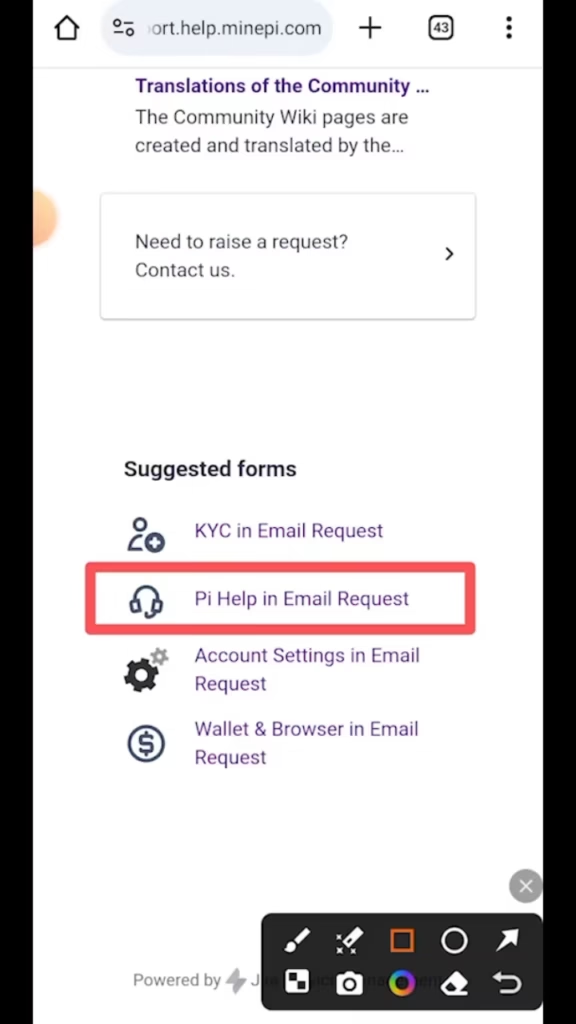
First, open your Pi Network app and navigate to the Pi Network Support Portal.Next, click on ‘Pi Help’ under the email request section.
In the Pi Help section, fill in all the required details. Be sure to enter the email address you used when registering your account, along with your Pi username. If you can’t find your Pi username, just go to the profile section, and it will be shown there.
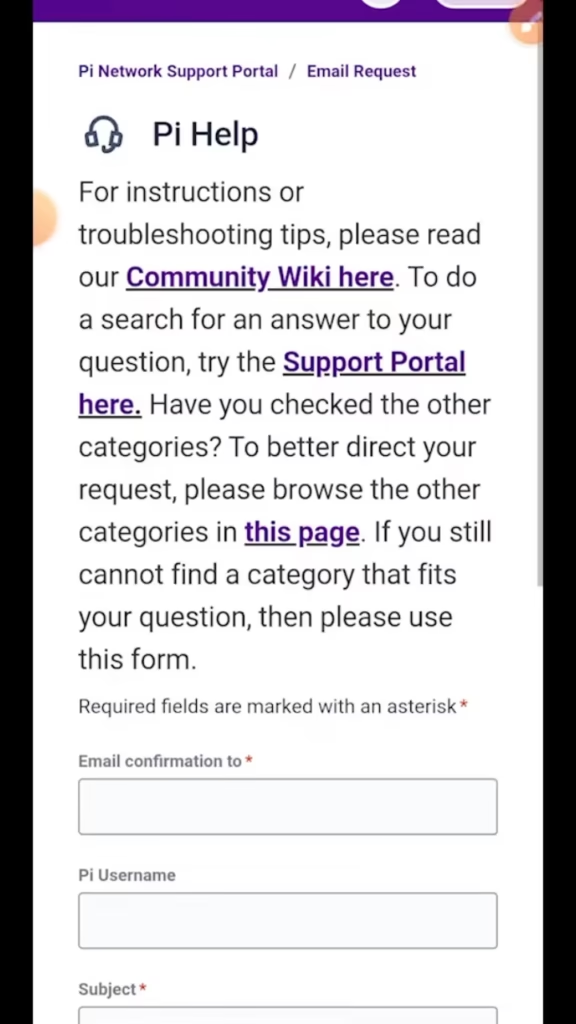
Next, fill in the subject field with a brief description of the issue you’re facing. In the description box, provide a clear and simple explanation of the problem. I’ll give you a demo subject and description as a reference just copy and paste it
Requesting Migration to the Mainnet
Dear Pi Network Core Team,
I hope you are doing well. I have successfully completed all 8 steps required for migration to the Mainnet. However, my migration status is still marked as “pending.” I kindly request that my migration be completed on a priority basis.
Thank you for your support!
Best regards,
[Your Full Name]
[Your Pi Username/Email Address]
Use the following description to send to the Pi Network team
There is also a drag-and-drop option for images. You can upload an image to help the Pi Network team better understand your issue.

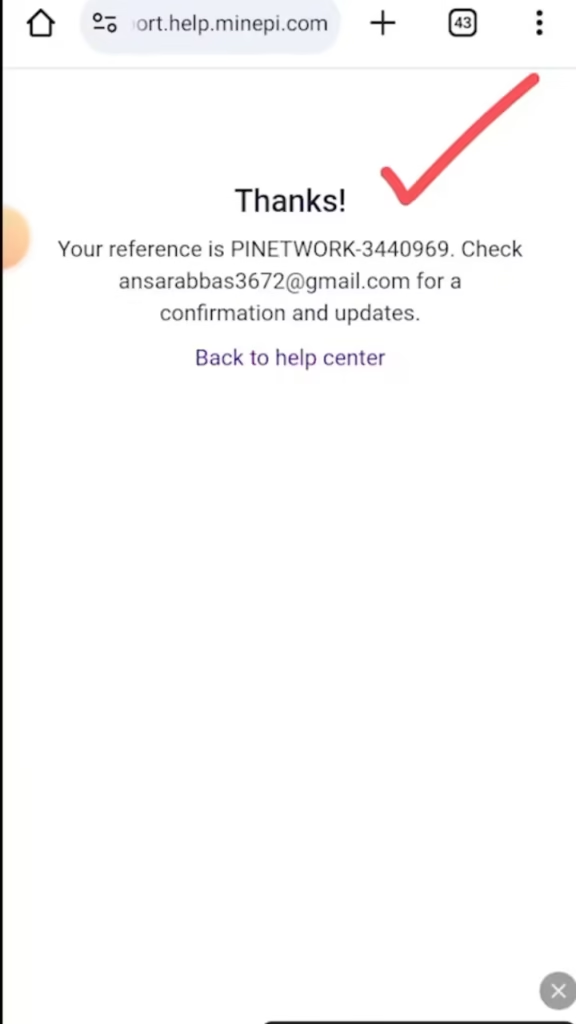
Once you’ve filled everything out, click the ‘Send’ button. A confirmation window will pop up showing a reference ticket number. Make sure to take a screenshot of this ticket number for your records. After a while, you will receive an email with updates about your request.
By following these steps, you will successfully complete your request. Once everything is done correctly, your yellow box will turn green, showing that your migration to the Mainnet has been completed successfully. I hope this blog has been helpful to you. Feel free to leave a comment and share it!