How to Complete Pi Network Mainnet Checklist Step 6
Pi Invitation Code: iamhassaan60
Share this Blog
In this blog, I’ll explain Step 6 of the PI Network main checklist in detail. But before we get into the details of Step 6, let’s first take a moment to understand what “Acknowledgement to Receive Tokens” means.
Acknowledgement to Receive Tokens
This “Acknowledgement to Receive Pi Tokens” explains the rules for getting and using Pi Tokens on the Pi Network. It covers what the recipient agrees to, like the purpose of getting the tokens, following the law, and not selling them right away. The recipient confirms they understand the risks, know about the tokens and blockchain, and are responsible for any taxes. They also agree not to hold the Pi Network or its partners responsible for any issues with the tokens. By accepting these terms, they can receive the tokens on the Pi Mainnet

Click on Purple Button
To proceed, simply locate and click on the purple button. This action will guide you to the next phase of the PI Network process.
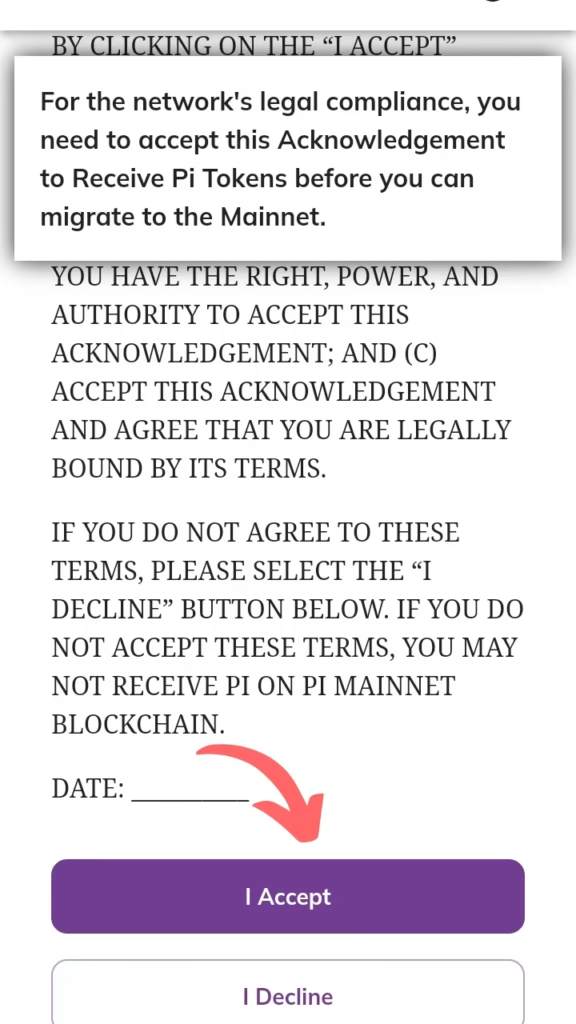
Accept the Agreement
Once you’ve moved to the next step, you’ll be prompted to accept the agreement. Accepting this agreement is crucial to continue further in the process. Without this step, you won’t be able to progress within the PI Network.
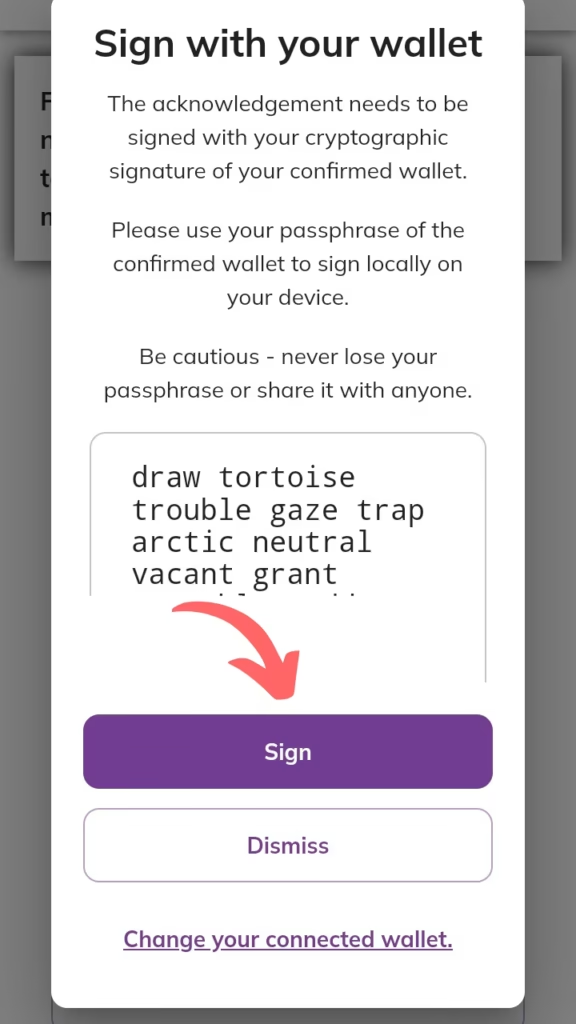
Enter Your Secret Passphrase
Once you accept the agreement, you’ll be taken to a step where you need to enter your secret passphrase. This step confirms that it’s really you authorizing the process. Just paste your passphrase into the provided box, click “Sign,” and move on to the next step.
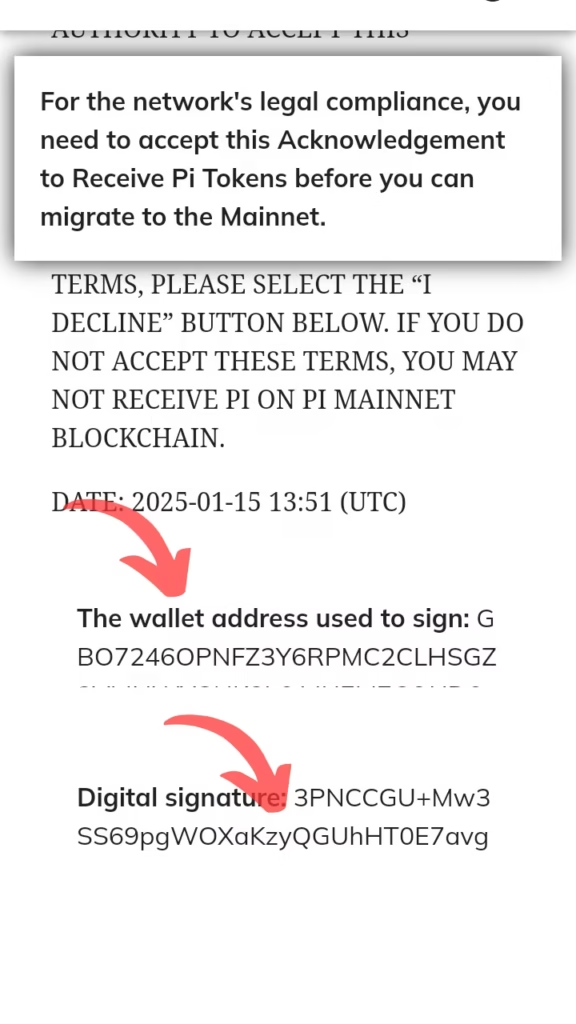
Acknowledgement Date and Time
After signing in, the system will show the date and time when you accepted the agreement. This timestamp records the exact moment of your acknowledgment. You’ll also see:
- The wallet address you used to sign the agreement.
- Your unique digital signature as proof of your acknowledgment.
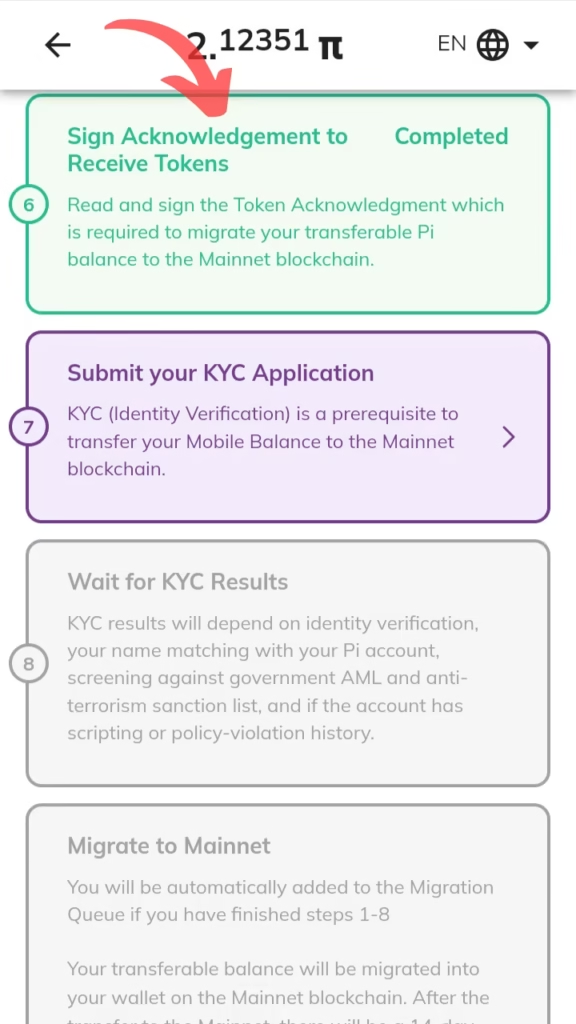
Completion Confirmation
When you go back to the Mainnet Checklist, you’ll see that the purple box has now turned green. This means you’ve successfully completed Step 6 of the checklist.
By following these simple steps, you can easily finish Step 6. I hope this blog has been helpful to you!